Written by Giorgos
Edited on
23 August 2022
·
12:44
How do you install a processor on a motherboard?
Installing your new processor isn't very hard. But how do you make sure you install it correctly? In this article, we'll explain how to do that.

Install your processor in 9 steps
- Step 1. Shut down the computer completely
- Step 2. Make sure you're grounded
- Step 3. If necessary, remove the motherboard from your case
- Step 4. Remove your old processor
- Step 5. Clean the socket
- Step 6. Install the new processor
- Step 7. Place the thermal paste on the processor
- Step 8. Install your processor cooler
- Step 9. Test and use

What do you need?
- A motherboard
- A new processor
- Thermal paste
- An antistatic wrist strap
- A screwdriver
- A microfiber cloth or cotton swab
- Possibly a computer case and thermal paste remover
- A cup of coffee
Tip: leave the new processor in the package as long as possible. This minimizes the risk of damage due to static discharge or dust.

Step 1: shut down the computer completely
Turn off your computer completely and don't put it on standby. Next, remove all cables, starting with the power cable. Are all cables disconnected from your PC? Press the power button again so that all the power remaining in the circuit also disappears.
Step 2: make sure you're grounded
A static shock reduces the lifespan of your components, so make sure you're grounded. An antistatic wrist strap ensures you don't build up electricity and prevents shocks. Attach the clamp to a grounded spot, such as your casing or a radiator. Don't have an antistatic wrist strap? You can discharge yourself by regularly touching the radiator.
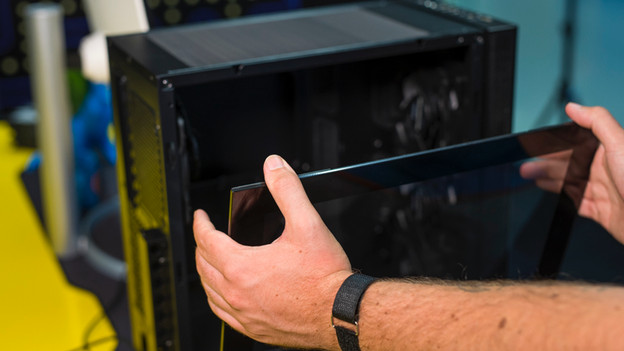
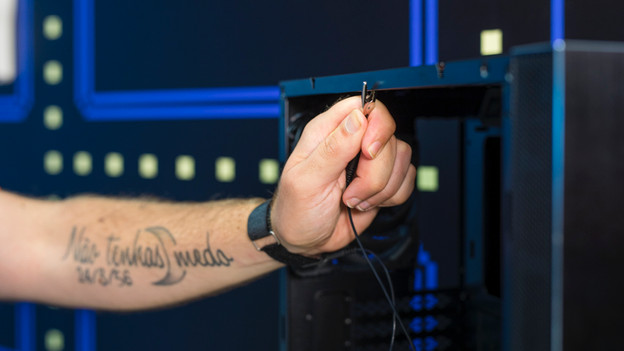
Step 3: remove the motherboard from your case if necessary
There are 2 different ways for replacing your processor:
-
Do you have few connected components? Remove the motherboard from your case. This'll give you a good overview and it'll make the process easier.
-
Do you have a lot of connected components? Leave the motherboard in place and replace the processor in the case itself.
Step 4: remove your old processor
Before installing the new processor, you need to remove the old one. Press the lever next to the socket to raise the processor. This way, you can easily remove it from your motherboard. Do you have a processor cooler? You can easily remove it from the connector with a basic cooler. With an advanced cooler, you may need to disconnect it first. Check the manual of your cooler to read how to do that.
Step 5: clean the socket and your old processor
Now that you've removed the old processor, make sure that you have a clean socket before you install the new one. Use compressed air to remove dirt. It's important that you don't use liquid. A socket is very sensitive and will be damaged if you get it wet. Do you want to put the old processor in another computer or sell it? Clean it with a little bit of thermal paste remover.

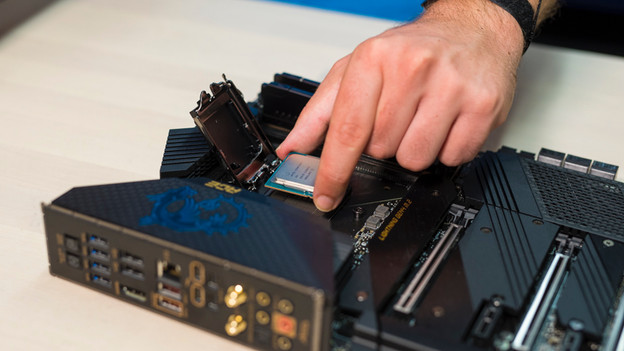
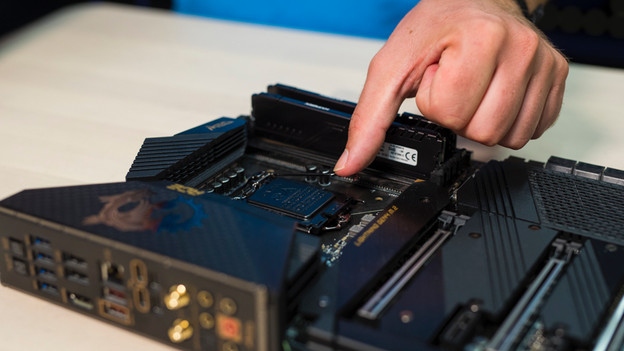
Step 6: install your new processor
Now that you have a clean and empty socket, install the new processor. Look for an arrow in the corners of the socket and align the processor as indicated. If you don't do this correctly, the connection points of the processor will bend. Place the processor loosely on the socket and close the lever again. Your CPU is now properly installed.
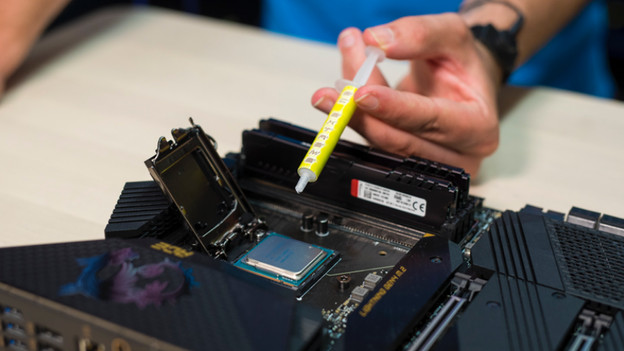
Step 7: apply thermal paste to the processor
Thermal paste provides better contact between your processor and socket and fills in any air bubbles. Air bubbles between the socket and the processor prevent proper cooling. This will ultimately affect the lifespan of your CPU. Put a pea-sized drop on the top of your processor and gently spread it evenly. Be careful not to use too much.
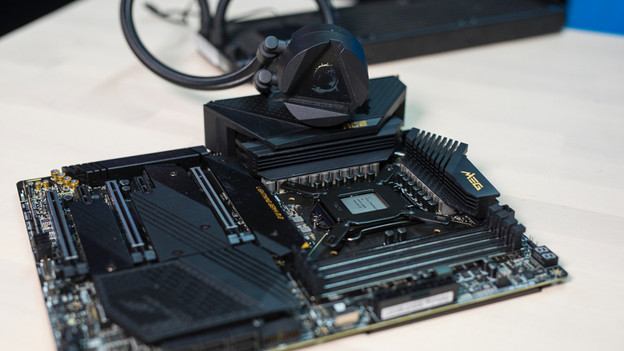
Step 8: install your processor cooler
With a processor cooler, you prevent the CPU from getting too hot, even under heavy load. Installing a processor cooler isn't very hard, but there's no general explanation on how to do it. So check the manual of the cooler. The thermal paste which you applied before allows the processor and the cooler to make better contact. This ensures an even better heat dissipation, which in turn extends the lifespan of your processor.

Step 9: test and use
Reassemble the computer and plug it back in right away. Does the PC start up again as normal? Your processor is working correctly. Note that you probably still need to perform some updates. For example, your graphics drivers. You can do this when the operating system has booted.