Written by Jelle
Edited on
18 February 2025
·
12:56
How do you transfer data from your Windows PC to your Mac?
If you've bought a new Apple MacBook, Apple Mac Mini, or Apple iMac, you'll want to get started as soon as possible. But what do you do when all your data is still on your old Windows PC or laptop? Thanks to the Windows Migration Assistant, you can easily transfer your data to your new Apple MacBook or iMac. Here, we'll tell you how to do this quickly and easily.
Transfer data in 3 steps
Go through the following steps to transfer your data to your new Mac:
- Step 1. Prepare the Windows computer.
- Step 2. Install the Windows Migration Assistant.
- Step 3. Follow the steps in the Windows Migration Assistant.


Step 1: prepare the Windows computer
Before you start transferring your data, you have to go through a couple of steps. That way, you'll know for sure the Windows Migration Assistant can transfer all of your data.
- Make sure the latest updates are installed on both computers.
- Keep the user name and password of the administrator account on the Windows computer on hand.
- Make sure both the Windows computer and your new Mac are connected to the same network.
- Did you use OneDrive on the Windows computer? Remove it.
Step 2: install the Windows Migration Assitant
You're now ready to install the Windows Migration Assistant on your Windows computer.
- Download and install the Windows Migration Assistant via the link below.
- Close all programs on the Windows computer.
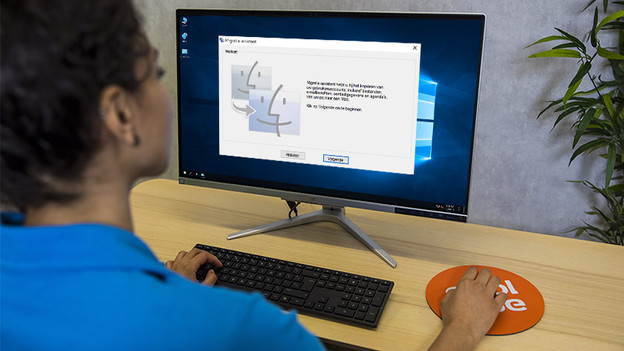
- Open the Windows Migration Assistant and click Next.
- Boot your new Mac.
If this is the first time you're booting your Mac, open the Setup Assistant. If you've set it up already, go to the Migration Assistant via the Finder.
Step 3: follow the steps in the Windows Migration Assistant
If this is the first time you're booting your Mac, open the Setup Assistant. If you've set it up already, go to the Migration Assistant via the Finder.
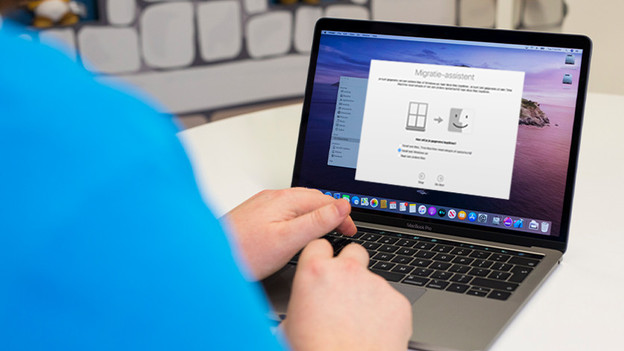
- Open the Migration Assistant on your new Mac.
- Follow the steps on the screen of your new Mac until you see the option to transfer data From a Windows PC.
- Enter the administrator name and password.
- Click Continue to close all opened apps.
- Find your Windows computer in the list of available computers.
- Wait until you see the passcode on the Windows computer.
- Do you see the same passcode on your Mac? Click Next.
- Your new Mac will now scan the folders on the Windows computer. When it's done, you can select the files that you want to transfer from the list.
- Click Continue.
- You'll now see the estimated time remaining. You'll receive a notification once the migration is complete.