Written by Marijn
Edited on
27 January 2025
·
13:10
How do you install a Miele built-in dishwasher?
You received your new Miele built-in dishwasher and are going to install it yourself. In this article, we'll go through 8 steps to build in your Miele dishwasher. That way, you can enjoy your new purchase in no time.
Install Miele dishwasher in 8 steps
For these steps, you need a Torx screwdriver, flat-head screwdriver, jigsaw, spirit level, pencil, tape measure, and scissors.
- Step 1. Apply the moisture barrier tape
- Step 2. Slide the dishwasher into the niche
- Step 3. Level the dishwasher
- Step 4. Adjust the front panel
- Step 5. Attach the front panel
- Step 6. Adjust the springs
- Step 7. Secure the sides with screws
- Step 8. Connect the dishwasher

Step 1: apply the moisture barrier tape
First, you apply the moisture barrier tape. This is included with the dishwasher. Measure how far the counter sticks out from your kitchen cabinet. Cut the sides of the moisture barrier tape to the right length. Clean the bottom of the counter and apply the tape.

Step 2: slide the dishwasher into the niche
Before you slide the dishwasher into the niche, you first rotate the legs inwards. That way, you prevent scratches on your kitchen floor. Lay out the hoses without any kinks or loops. You can then slide the dishwasher into place.
Step 3. level the dishwasher
You can level the dishwasher by adjusting the legs. Tighten the rear legs with a Torx screwdriver and the front legs with a flat-head screwdriver. You can remove the slats below the control panel if necessary.

Step 4: adjust the front panel
Measure the distance from the bottom of the dishwasher to the bottom of the kitchen counter. Bring out the front panel and mark this distance with a pencil. Next, you place the included instruction sheet on the front panel. Drill holes of about 10mm deep in the indicated locations. Use a 2mm drill for this.
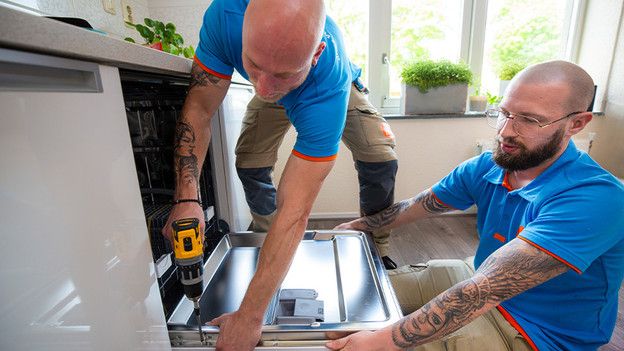
Step 5: attach the front panel
Use screws to fix the parts in place with a Torx screwdriver. Open the dishwasher slightly and attach the front panel with a Torx screwdriver. Note: don't use a drill for this, you might damage the front panel and dishwasher.
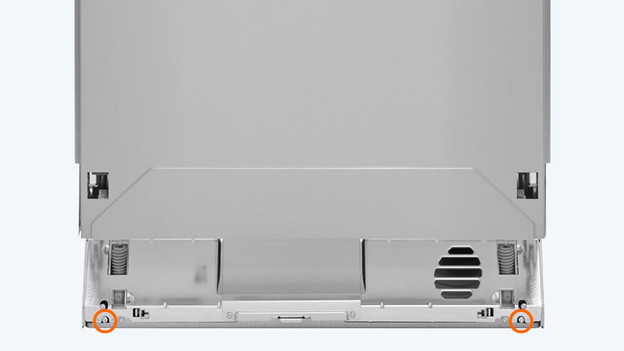
Step 6: adjust the springs
There's a screw on the bottom of the dishwasher that you use to adjust the springs. Adjust them in such a way that the door doesn't fall down when you let go of it at a 45-degree angle.

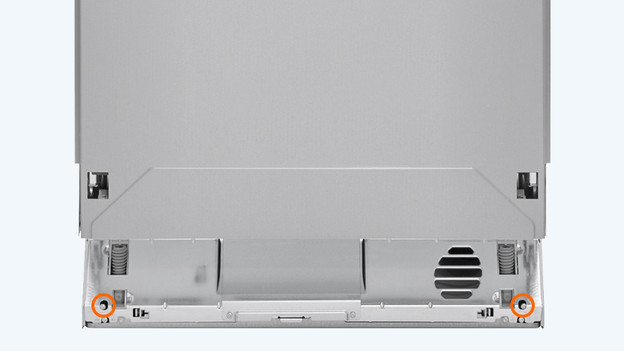
Step 7: secure the sides with screws
Secure the sides of the dishwasher with screws. Use a Torx screwdriver for this. Check if you can easily open the door. Does the door hit the baseboard? Saw off part of the baseboard, so that the door can open and close properly.

Step 8: connect the dishwasher
This last step is where you connect the dishwasher. Plug the connector into the socket and connect the water hoses to the faucet. Check if everything is properly connected during the first rinse. You've now successfully built in your Miele dishwasher.
Article by Marijn
Dishwasher Expert.