Written by Lucinda
Edited on
29 April 2024
·
09:29
How do you set up the Apple iPad?
You want to get started with your Apple iPad as soon as possible, but you have to do the setup first. In order to help you with that, we have prepared a step-by-step plan for you. This way, you'll walk through the setup without a problem.
Setting up the Apple iPad
Setting up your iPad isn’t difficult. Follow these steps to quickly get started with your iPad.
- Set up the Apple iPad automatically or manually
- Set up your Apple ID
- Set up accounts and other useful functions

Step 1: Turn on and choose language
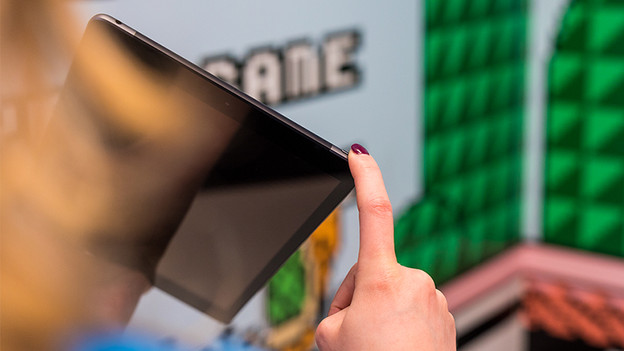
- Turn on the Apple iPad by pressing and holding the button on the top right of the device.
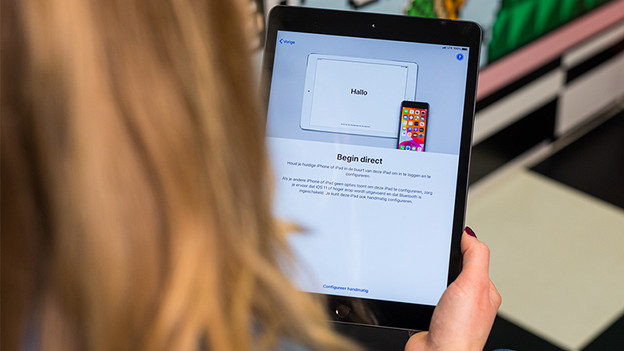
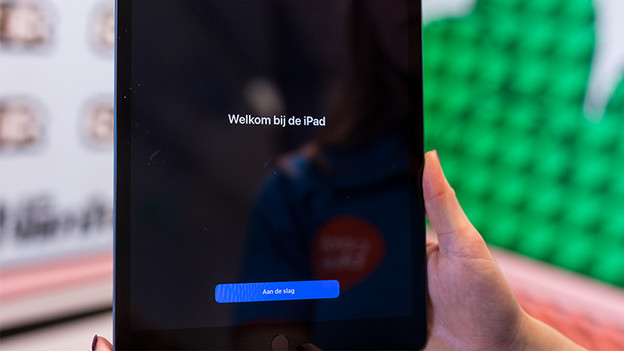
- ‘Hello’ appears on the screen. Swipe the screen or press the home button to start with the setup of your iPad.
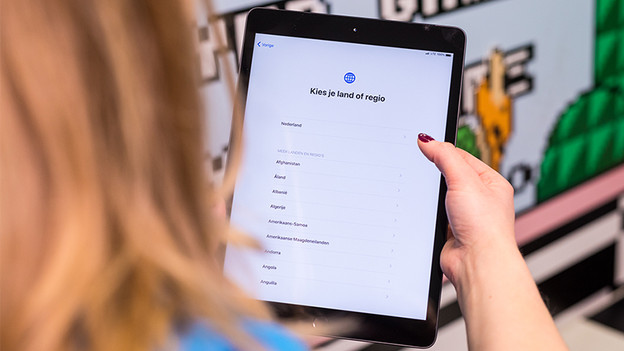
- In the list of languages, choose the correct language, then choose the country.
Turn on the iPad
Start the setup
Choose the correct language

Step 2a: choose your configuration
Want to configure your iPad automatically? Place another iPad or iPhone next to your new iPad and follow the steps on the screen. Your iPad will copy the settings from your other device. Do you want to set up your iPad manually? Tap 'Configure manually' at the bottom of the screen. Extra steps are involved for this option.
Step 2b: steps for manual configuration
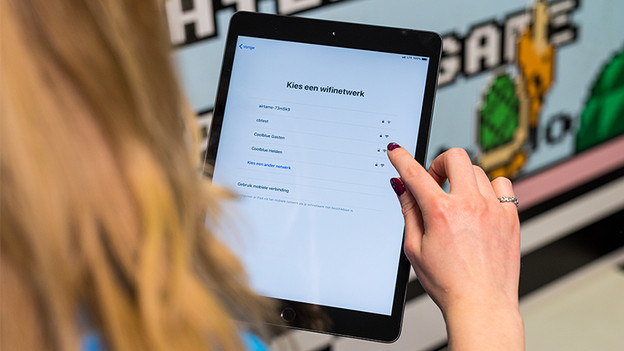
- Select your WiFi network, enter the password, and select ‘Connect’.
- Set up Touch ID by following the on-screen instructions. Do you have an iPad Pro? You can use this step to set up Face ID.
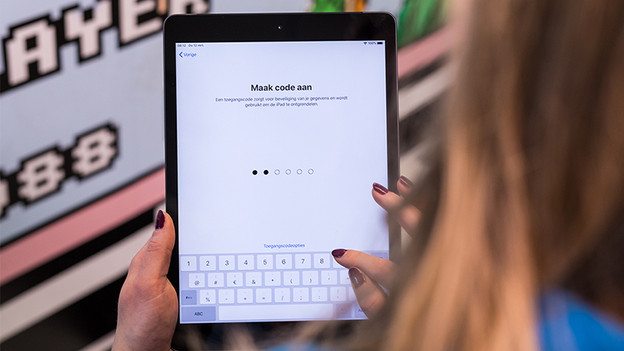
- Choose a code that you can easily remember to lock your Apple iPad. Repeat the code.
- Decide if you want to transfer data from another device to your iPad. You can do this via iCloud, a Mac computer, or an Android device.
Don't want to transfer apps and data? Select 'Don't transfer apps and data'.
Choose a WiFi network
Set up Touch ID
Choose a passcode
Transfer data


Step 3: Set up Apple ID
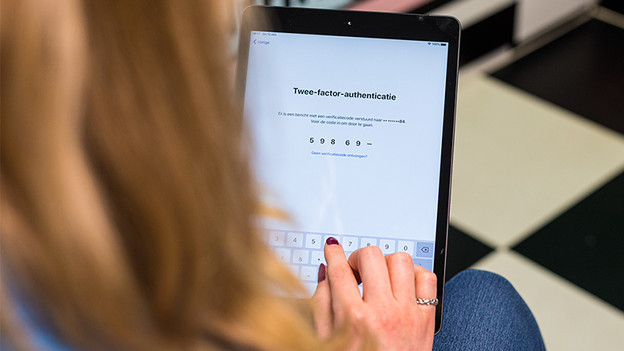
I already have an Apple ID
- Enter your Apple ID and tap 'Next'
- Do the same for your passcode and tap 'Next'.
- 'Two-factor authentication will appear on the screen. You'll receive a text message on your phone. Enter the code on the dashes.
- Tap 'Agree' when you've read the Terms and Conditions.
The iPad is now configuring your Apple ID. This can take a few minutes.
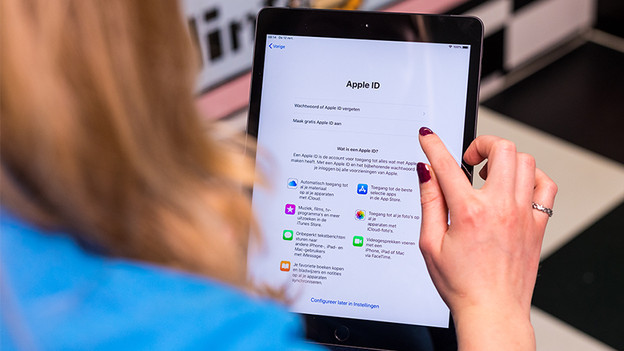
I don't have an Apple ID yet
- Tap 'Forgot password or no Apple ID?' and select 'Create a free apple ID'.
- Fill in all your information, like date of birth, name, and security question, then tap 'Continue' at the top right.
- Fill in your email address and indicate if you want to receive Apple news.
- Set the password for your account in the next screen.
- The Apple iPad will ask you for your phone number to verify your identity. You'll receive a text message with a code. Enter the code on the Apple iPad.
- Scroll through the Terms and Conditions and choose 'Agree' at the bottom right.
Your iPad will now create your Apple ID. This can take a few minutes.
Step 4: Location, Apple Pay and Siri
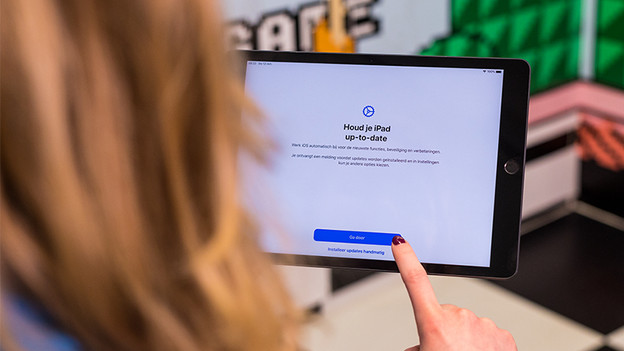
- Choose whether you want to install updates automatically or manually.
- Do you have a 5G or 4G iPad? Turn 'Location Services' on or off here. With Location Services, various apps can use your location. Don't have an iPad with 5G or 4G? Location Services isn't available for you, so you won't see the screen.
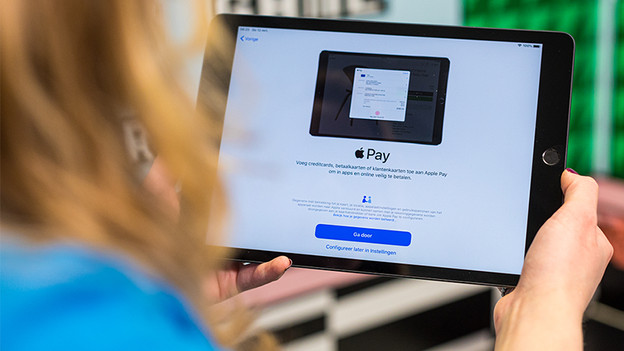
- Do you want to use the iPad to pay? Enter your Apple Pay information. You can do this by choosing 'Continue'. Don't want this? Choose 'Configure later in settings'.
- The iCloud Keychain remembers your information and passwords, so you don't have to enter them manually every time. Choose 'Continue' to set this up. Or choose to skip this.
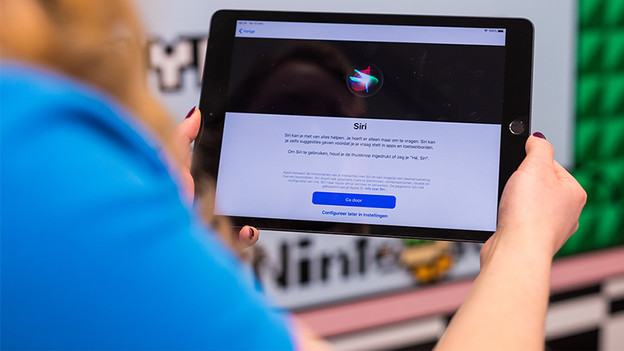
- Set up the voice assistant Siri in 5 steps here, or choose to do this later.
Indicate your preference for updates
Set up location services
Set up Apple Pay
Set up iCloud Keychain
Set up Siri


Step 5: Screen time, dark mode and tips
- On the next screen, you can choose if you want to receive a weekly report on your screen time. This will give you insight into the use of various apps.
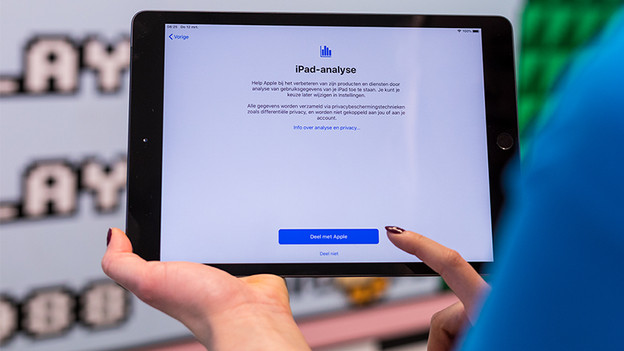
- Indicate whether or not you want to help Apple improve their products..
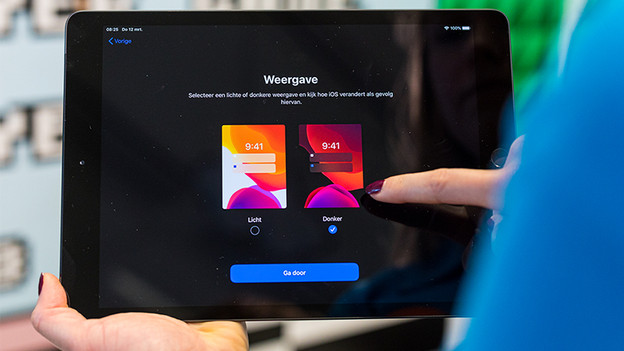
- On this screen, you can choose if you want to use your Apple iPad in light or dark mode. Tap on the 2 examples to see which you like best. Choose ‘Continue’.
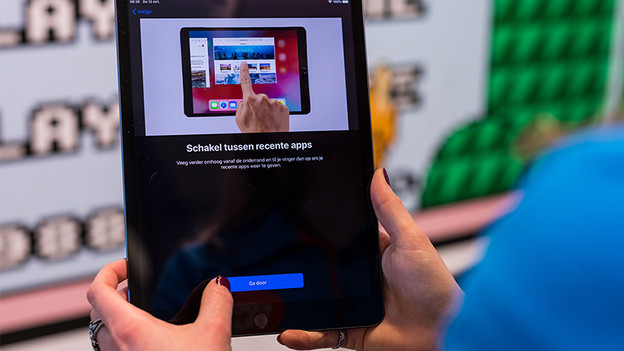
- Now you can view tips about using your iPad (select ‘Continue’ after reading every tip)
- Tap ‘Get started’. The home screen will appear on your iPad and the setup is complete.
Setting screen time
iPad preferences
Dark or light mode
Apple iPad tips
Choose 'Get started'
Installation complete


Article by Lucinda
Apple Expert.