
Written by Kasper
Edited on
4 March 2025
·
10:52
Install your new laptop with Windows 10 in S mode
You bought a new laptop with Windows 10 in S-mode, and of course you immediately want to get started! The only thing you have to do is install Windows. Quickly unpack your laptop and connect the cable. In this article, I'll explain step by step how to get your laptop with Windows 10 in S-mode ready for use.
Set up new laptop
You can install your new laptop in a few steps:
- Start the Windows setup
- Connect to a WiFi network
- Read the license agreement
- Sign up
- Set your name and password
- Set your privacy settings


1. Start the Windows Setup
Turn on your laptop. The Windows setup should start now. Follow the steps on the screen. We recommend the following settings:
- Configuration language: your preferred language
- Time and currency layout: Dutch
- Keyboard or input method: United States (NL/QWERTY) or France (BE/AZERTY)
- The next screen will ask you to add a second keyboard layout. If you don't want this, click Skip.
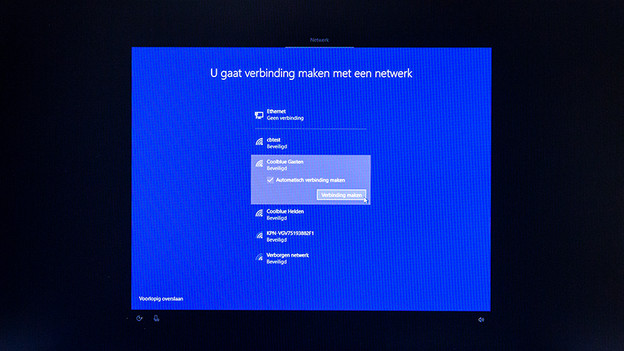
2. Connect to the internet
Choose the network you want to connect to from the list on the screen and setup your connection. Choose 'Automatically connect' if you always want to be connected to this network at home. Note: if you're already connecting to the Internet, you have to log in with a Microsoft account in step 4. If you don't want that, skip the this step to create an offline account in step 4.

3. Read the fine print
Almost no one reads the fine print, but it's still good to know what's in the user agreement. At least scroll through it. Click 'Agree' to continue.

4. Log in with a Microsoft account
If you have a Microsoft account, log in and click Next. If you don't have an account yet, you can create one. If you don't want an account or don't want to log in, you can go back to step 2 to set up the internet connection later. This way, you can skip the login process to create an offline account on your laptop.
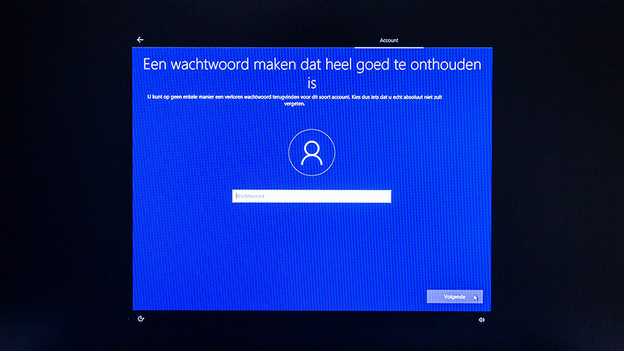
5. Set a username and password
Enter the name you want to use as the user of your new laptop. Click 'Next' and enter a password.
Do you use a laptop with a fingerprint sensor? You'll can either use your fingerprint or a traditional password to log in. If you choose a fingerprint, the setup will help you set it up.
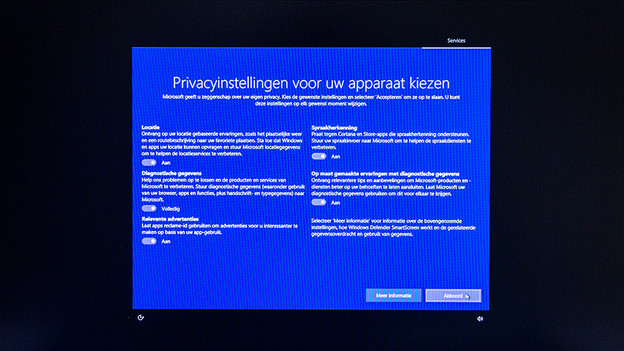
6. Adjust the privacy settings
By default, Windows 10 sends all kinds of data on your use of the laptop and Windows to Microsoft. We recommend the standard settings. Want more privacy? Turn the desired settings to 'Off' and click 'Agree'.
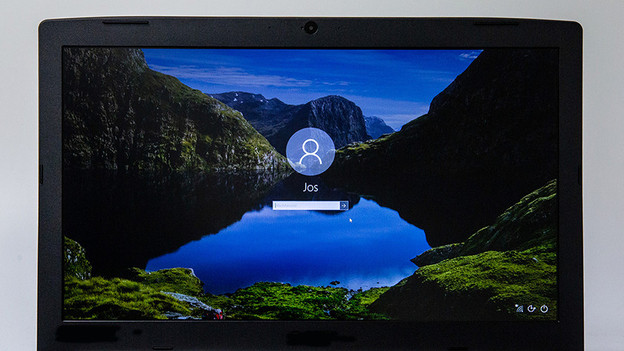
7. Getting started with your laptop
Well, those were a lot of screens, but the installation is done! Log in with your newly created Windows account and get started with your laptop. Note that the laptop still needs to install a single Windows update. Updates are important for Windows 10 laptops to perform optimally, so let the laptop install them before you get started with the new laptop.
