Written by Steven
Edited on
28 February 2023
·
13:55
How do you set up a monitor?
A second screen gives you extra screen space when you're working on a laptop or desktop. You can connect this in no time. Plug the connector of the monitor into a socket before you start. We'll explain how to install the screen and connect it to your computer.

Set up screen
To set up the new monitor, connect the power cable and place the monitor in the right spot. Have you already connected the monitor with a cable? Go to Step 3. If you haven't, go to Step 1.
- Choose a connector.
- Connect your monitor via a cable.
- Go to Display Settings.
- Identify the screens.
- Rearrange the screens the way you want to.
- Choose how to display the screens.

Step 1: choose a connector
You first need to choose the type of connector to use to connect the monitor. You can choose between an HDMI, DisplayPort, USB-C, Thunderbolt, or VGA connection. Which one you choose depends on the connectors on your monitor and those of your laptop, desktop, or docking station. For example, does your monitor have an HDMI port? Connect your computer with an HDMI cable. There are 3 ways to connect your monitor via a cable.
Step 2: connect your monitor via a cable (3 options)
Option 1: direct connection
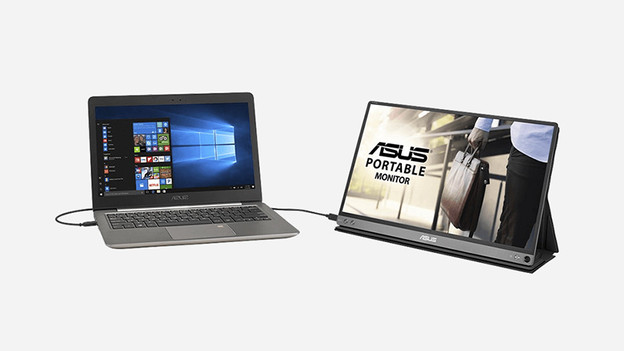
The easiest way is to connect the new screen directly to your laptop or desktop. Make sure your PC has enough ports. If your laptop has an HDMI port available, use the HDMI port of your monitor to connect the screen. Is there no HDMI port available? Consider an adapter.
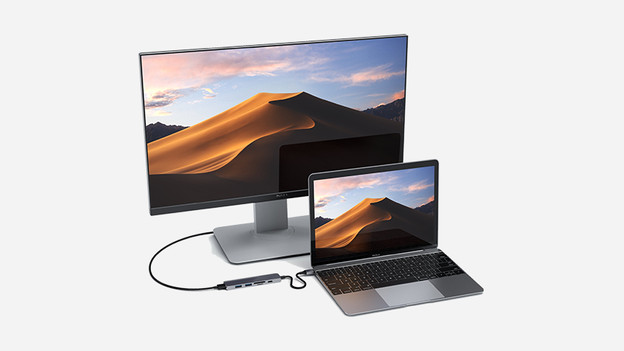
Option 2: connect via a dock
Another way to connect the monitor(s) to your computer is by means of a docking station. This lets you expand the number of ports on your device, so it's easier to connect a second screen.

Option 3: Daisy Chain
A final and lesser known way to connect is Daisy Chaining. You need 2 DisplayPort or USB-C cables for this. Use cable 1 to connect your computer to your first screen. Next, use cable 2 to connect the first screen to the second screen. Note: not every monitor supports this.
Set up the monitor
It's now time to arrange your monitors by choosing the right display settings. Follow the steps for your operating system to set up the monitors.
Step 3: go to Display Settings
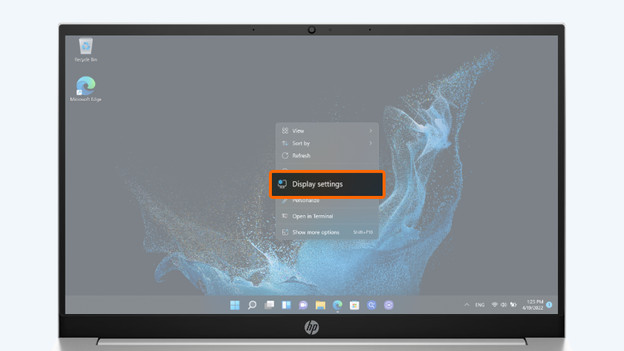
Windows
Make sure you close or minimize opened programs. Right-click on the desktop and select Display Settings from the list.
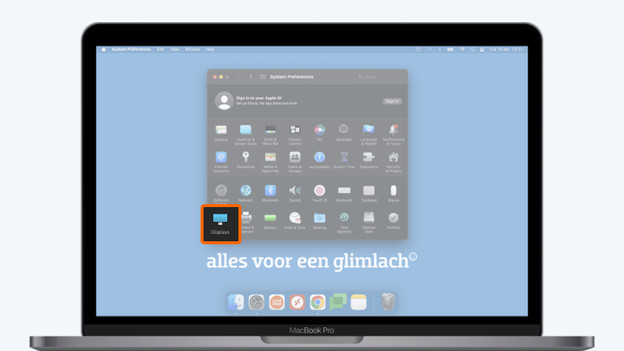
macOS
Click on the Apple menu on the let in the menu bar and select System Preferences from the list. Now click Displays to open the display settings.
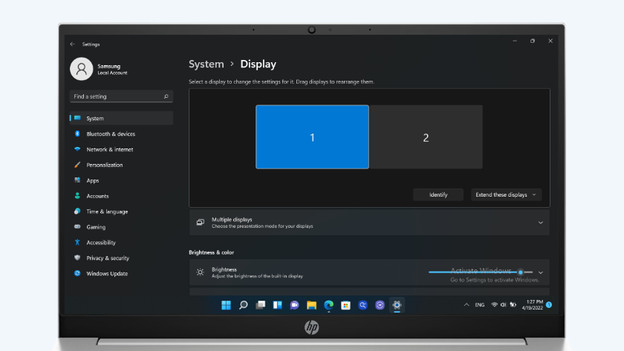
Step 4: identify the screens

Windows
Select the screen you want to adjust. Click on Identify to see which screen is 1 and which is 2. A number appears on the screen. You can recognize the screen by this number. You now know which screen is which. If your monitor isn't listed here, click on Detect to find the screen. The second screen will appear on the display. Does your monitor still not appear? Restart your computer, so you refresh all connections.

macOS
As soon as you open the display settings, you'll see a window with all the monitors. Doesn't macOS recognize your screen? Click the Options button. The Night shift button now turns into Find displays. Now click on Find displays. Still can't find it? Restart your Mac to refresh the connection.
Step 5: arrange the monitors
Windows
Is your second screen a laptop? It's probably lower than your monitor. Luckily, you can easily rearrange the screens by dragging them. You can place the screens next to each other or one above the other, for example. The benefit of this is that you can move the cursor between the screens in a way that feels more logical. Imagine your screens are below each other. You can move the cursor up or down to go to the other screen. Or if you work with a laptop that's on a raiser. Move the smaller screen to indicate the correct position.

macOS
To make sure your monitors are in the right spot, you can adjust the arrangement. Select Rearrange in the window with display settings. You'll see all your monitors. Move the blue rectangles to change the arrangement. Place the monitors in the right position. Above one of the monitors, you'll see a white bar. You can use that to move the taskbar to a different screen.
Step 6: choose how to display the screens
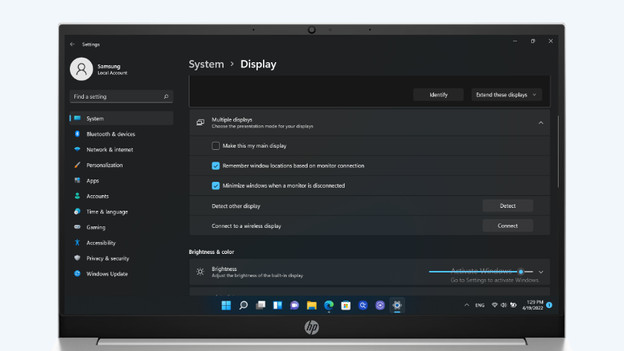
Windows
Scroll down and click on Multiple Displays to change the display options of your screens. Select one of these options:
- Duplicate: you see the same image on both screens.
- Expand: the image expands to the second screen, so you have more screen space. You can drag items from one screen to the other.
- Show only on 1 / Show only on 2: the image appears on only one of the screens. Your other screen remains black.

macOS
The macOS operating system extends your monitors by default. This way, you have more screen space. Do you want to see the same image on all your monitors? Check the box at Enable synchronized display.
Not successful?
Your drivers might have to be updated. Do you work with a docking station? Check the website of the manufacturer to install the latest drivers. If that doesn't solve the problem, you can update the drivers of your computer. You can read how this works in the article below. It works the same way for laptops and desktops, and it's only necessary if you use Windows.