How do you use a split screen with Windows?
Get started with Windows split screen
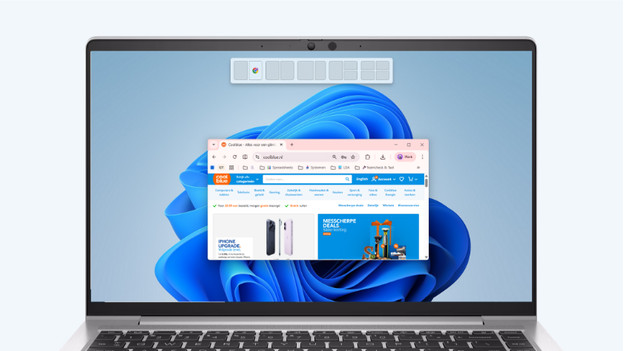
You can use the Windows split screen in various ways. Turn it on via the settings and use the split screen functions right away.
- Tip 1: turn on the function via the setting
- Tip 2: drag your windows
- Tip 3: use the keyboard combination
- Tip 4: move your mouse over the maximize button
Tip 1: turn on the functions via the settings
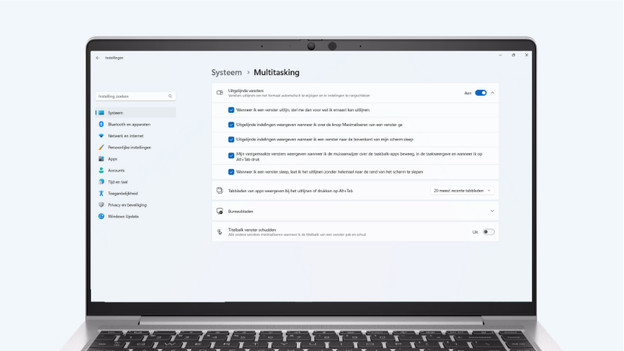
Usually, the function for a split screen is automatically turned on in Windows 11. You can easily check this via the settings.
- Go to Settings.
- Choose System and click on Multitasking.
- Turn on Snap windows and adjust extra settings to your liking.
Tip 2: drag your windows
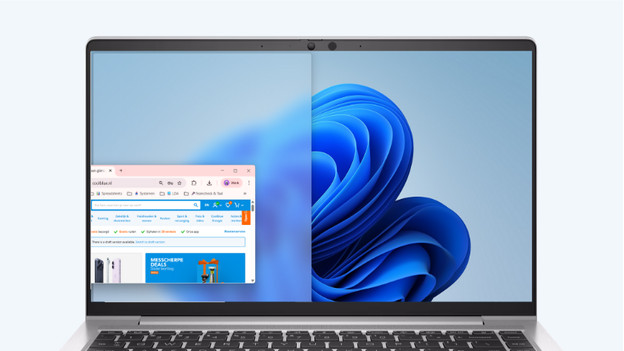
The easiest way to create a split window is by dragging your windows. Drag the window you want to split to the left, right, or top. If you drag the window to the left or right, you create a split screen in the middle of your screen. If you drag the screen upwards, you can choose from 5 different options to organize your screen. Choose the option you like the best and let go off the window. Your window is now split.
Tip 3: use the keyboard combination
You can also create a split screen via the keyboard. Use the Windows button and the arrow keys to choose where you want to move your window to.
- With the right arrow, you can move the window to the right.
- With the left arrow, you can move the window to the left.
- With the down arrow, you can minimize the window.
- With the up arrow, you can move the window to the upper half of the screen.
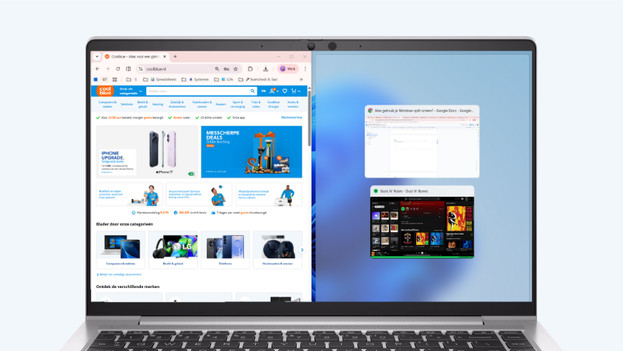
Tip 4: move your mouse over the maximize button
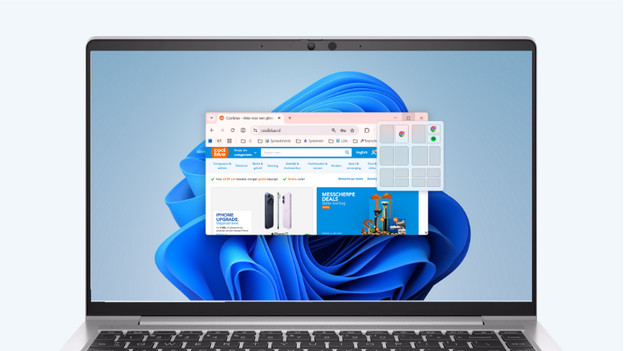
Move your mouse over the button that makes a window larger or smaller. A small pop-up will appear, where you can choose from various options. That way, you can easily choose how you want to split your windows. Choose the option that suits you best.